Recently I was talking to a friend who complained about wrist pain after riding. He had a decent bike with high-end components, so it was not a matter of poor performance, I thought. The next day, I spent a lot of my time at the bikepark wandering around to check out other riders’ cockpit setups. One thing stood out to me: The variety of different brake lever positions. That made me thinking of my friend again…
What role does the position of your brake levers play and how do you set them up right? Is there a magic position? Does it all depend on personal preference or on terrain you’re riding?
There is a guideline but no right or wrong
A good start is a neutral lever position roughly at a downward 45-degrees angle to horizontal. That’s generally suitable for the majority of riders.
However, if you look at the pro’s bikes, you’ll see many different positions – from nearly flat to almost 90 degrees steep. It’s because they adjust it to their style of riding, their background and the riding conditions.
For example, riders with a motocross background or those who ride mostly steep DH trails tend to have their levers more flat. It helps to prevent leaning forward too much over the bars and gives more control. Tall folks like to run their levers usually a bit lower.
In pro racing, there is a trend towards flatter levers. Just check out the bikes of Yoann Barelli or Phil Atwill and you’ll see what we mean.
Reach & Bite Point
Next to the lever angle, the reach and bite point are critical factors that affect your braking performance.
The reach determines the distance between the lever and the handlebar. The bite point is where the braking action starts when pulling. It’s a neat feature which you’ll find on most advanced brakes. But keep in mind: Altering the reach will automatically shift the bite point so you can play around with it.
The majority of riders like to have the bite point rather far away. That helps to avoid the risk of pulling it all the way onto the bar. Because if you do so, you’ll squeeze your fingers before getting the full stopping power.
How to setup your individual lever position
Most bike shops will assist you with setting up your brakes. But if you buy your bike used or from a direct distributor, it’s all up to you.
Some people just adapt to a pre-set position without ever changing it and it works for them – but there is surely room for improvement.
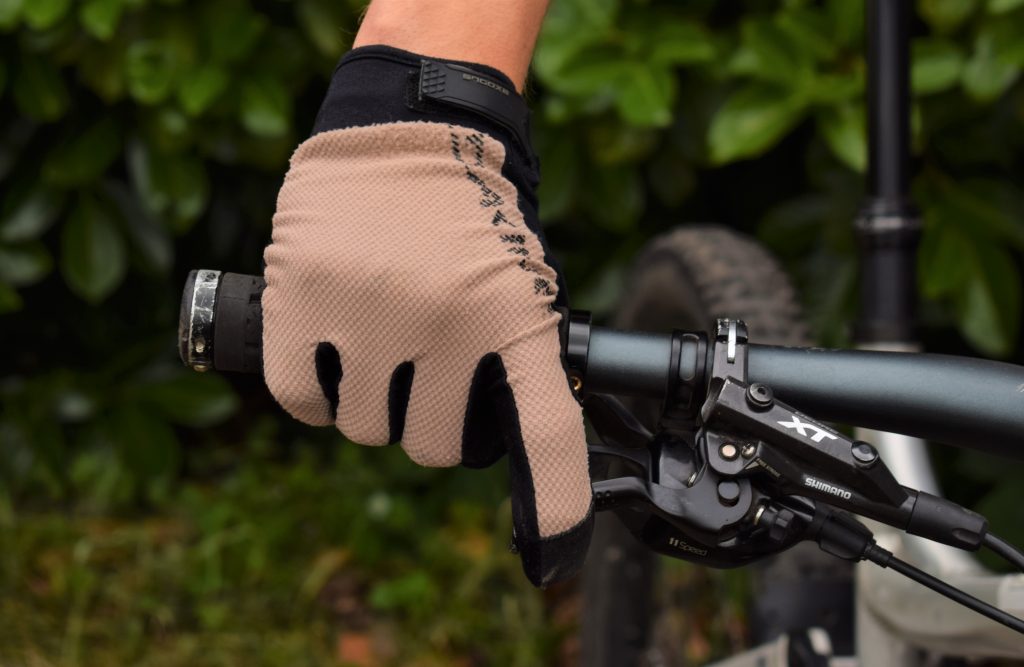
The goal is to have the lever in a straight line with your finger, palm and arm. This creates a relaxed position and prevents your wrist from bending too much. But as mentioned earlier, it’s highly individual! Some riders will feel more comfortable at other positions. Fine-tuning is key.
Adjust the reach so that one finger can always rest on the lever while riding. If you can fine-tune your bite point, start by setting it quite far away from your handlebar. Then play around with it so that your finger is not too stretched out while resting on the lever. Make sure you’re only braking with one finger – that’s more than enough power on modern disc brakes.
What’s your preference?
We are curious to hear about your preferred brake setup. Feel free to drop it in the comment section!

Easy to understand and very informative